Locally owned and operated.
Call Us Anytime: +1 843-304-6615
CLEANING & RESTORATION
24/7 Emergency Services:
Call us at 843-305-3383
Locally owned and operated.
Call Us Anytime: 843-305-3383
CLEANING & RESTORATION
24/7 Emergency Services:
Call us at 843-305-3383
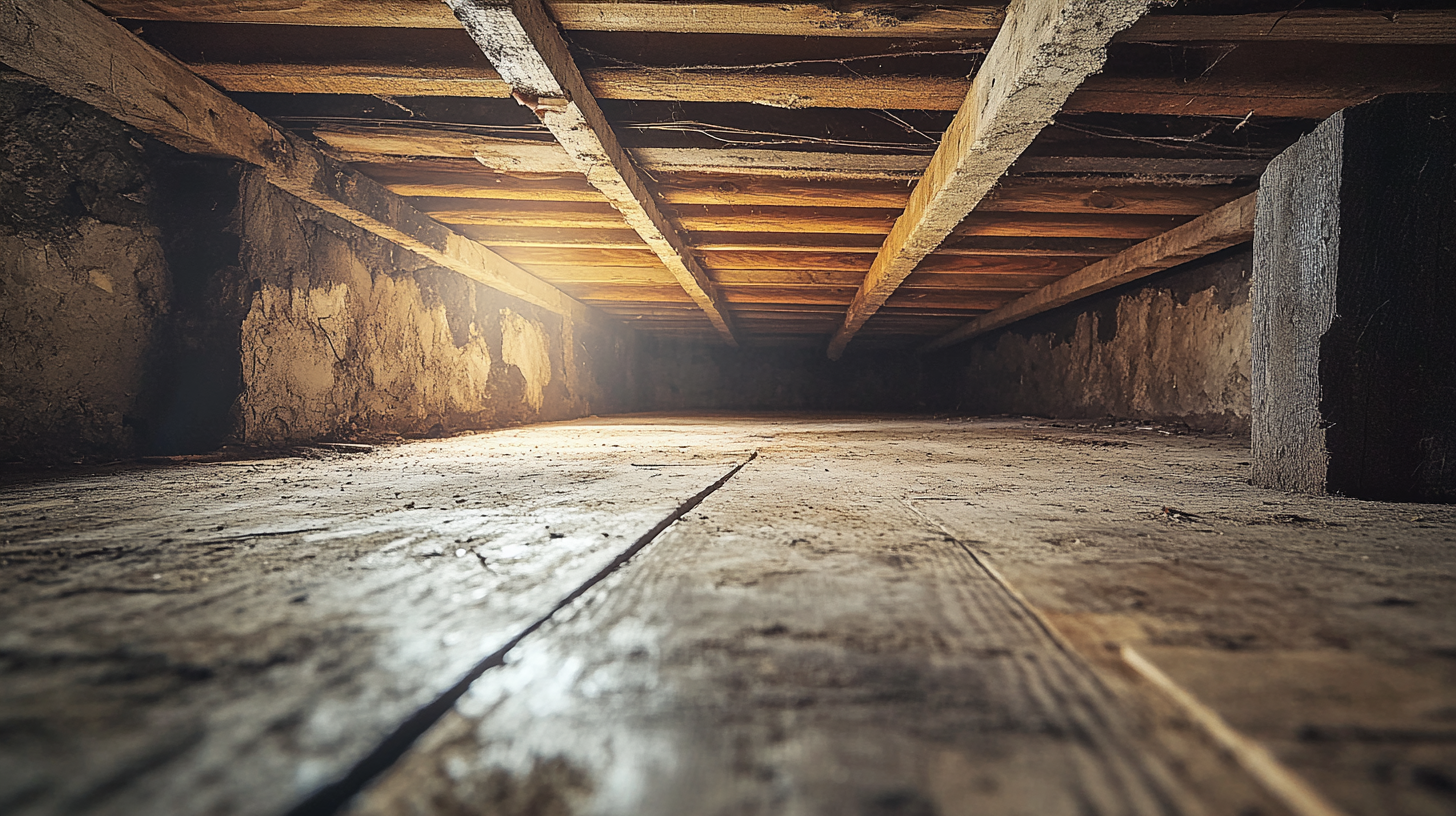
Soot Removal from Ceilings: Techniques and Tools

In the aftermath of a fire, the presence of soot is an all-too-common reality, with ceilings often bearing the brunt of this pervasive byproduct. Soot accumulation on ceilings not only detracts from the aesthetic appeal of a space but also presents a unique set of challenges for cleanup and restoration efforts. Unlike other surfaces, ceilings pose specific difficulties due to their height, the potential for soot to interact with different paint finishes, and the risk of secondary damage during the cleaning process. This blog delves into the complexities of addressing soot accumulation on ceilings, highlighting the need for a careful, informed approach to restore them to their pre-damage condition.
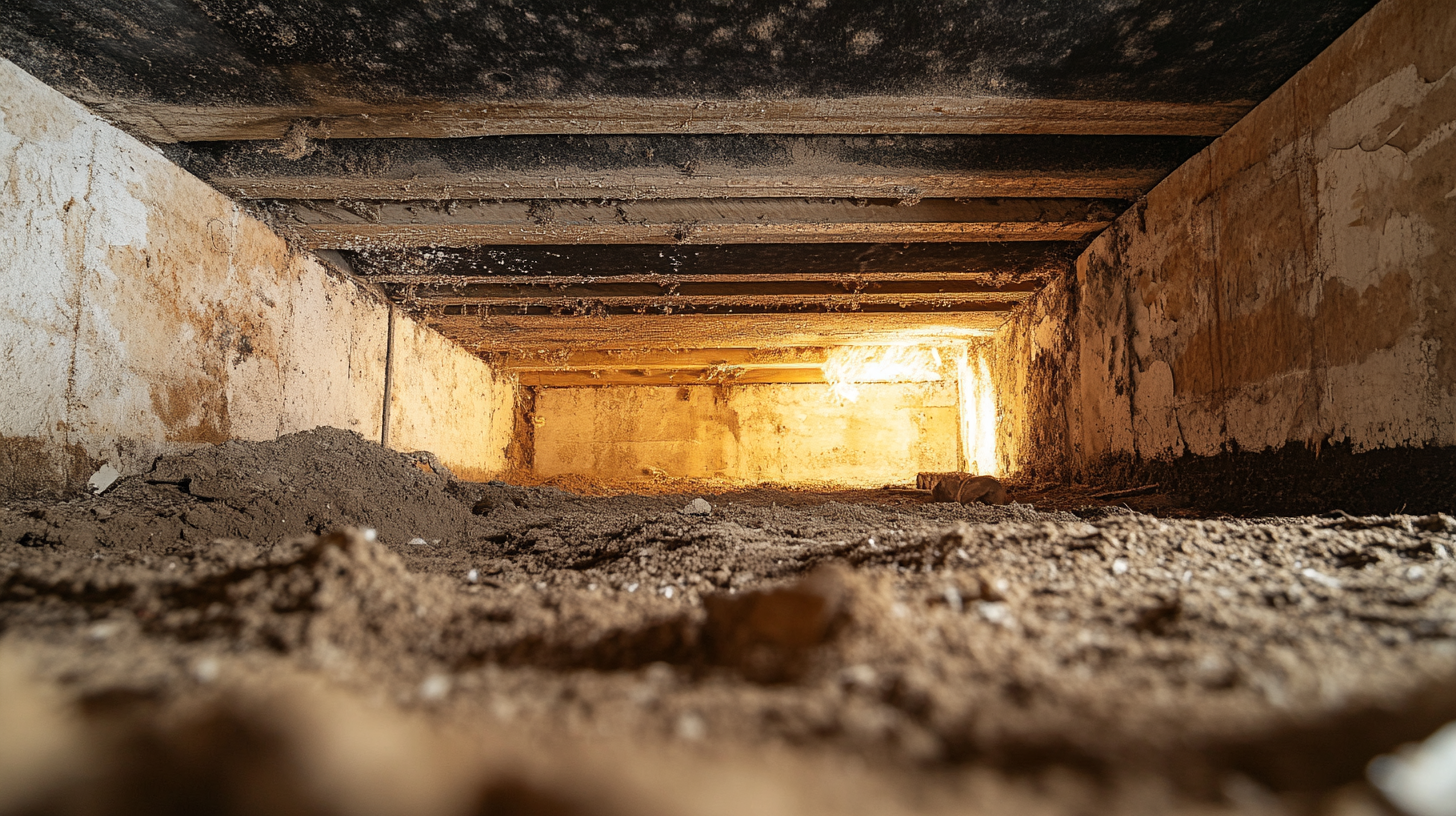
Soot, a fine particulate matter resulting from incomplete combustion, clings stubbornly to surfaces, and ceilings are no exception. Its removal is complicated by several factors: the nature of soot itself, which can be oily or dry depending on the combustion source; the texture and type of ceiling materials, which can range from smooth plaster to porous popcorn textures; and the height and accessibility of ceilings, which often require specialized equipment to reach safely. Moreover, the health risks associated with soot particles necessitate precautions to protect both the individuals performing the cleanup and the occupants of the space.
The challenges of soot accumulation on ceilings extend beyond the immediate concerns of staining and odor. Soot's acidic properties can cause long-term damage to ceiling materials, leading to discoloration and deterioration over time. Additionally, the process of removing soot from ceilings must be undertaken with care to avoid spreading soot particles to other areas, further complicating cleanup efforts.
This blog aims to explore the intricacies of soot accumulation on ceilings, offering insights into the challenges it presents and providing guidance on effective removal strategies. By understanding the factors that make ceiling soot removal particularly demanding, homeowners and restoration professionals can tackle this issue more effectively, ensuring a thorough cleanup that addresses both aesthetic and structural concerns.
Understanding Soot on Ceilings
The aftermath of a fire often leaves a visible reminder of its passage, with soot accumulation on ceilings being one of the most common and challenging issues to address. Soot, a byproduct of incomplete combustion, can coat ceiling surfaces, leading to aesthetic and structural concerns. This guide delves into the nature of soot accumulation on ceilings, exploring how soot adheres to different surfaces and the factors contributing to its presence. Additionally, we will discuss the risks associated with improper soot removal, including potential damage to ceiling surfaces and the health implications of inadequate cleanup.
The Nature of Soot Accumulation on Ceilings
Soot particles are fine, powdery substances that can easily become airborne and settle on higher surfaces, including ceilings. The process of soot accumulation involves several factors:
- Adhesion Properties: Soot adheres to ceiling surfaces due to a combination of its physical properties and the surface texture of the ceiling. Oily soot, resulting from the burning of synthetic materials, can stick more stubbornly to surfaces than the drier soot from wood.
- Airflow and Convection: The movement of air within a space can carry soot particles upwards. Hot air rising during a fire contributes to this effect, causing soot to settle on cooler surfaces, such as ceilings.
- Surface Texture: The texture of the ceiling affects soot accumulation. Porous materials like acoustic tiles or popcorn ceilings can trap soot particles more readily than smooth surfaces.
Understanding these factors is crucial for effective soot removal strategies, ensuring that cleaning efforts are tailored to the specific challenges presented by ceiling surfaces.
Risks of Improper Soot Removal
Improper soot removal from ceilings can lead to several risks, both to the structure itself and to the health of the building's occupants:
- Surface Damage: Aggressive cleaning methods can damage ceiling surfaces, especially if they are textured or painted. For example, scrubbing a popcorn ceiling too harshly can lead to the removal of the texture along with the soot.
- Health Risks: Inadequate removal of soot can leave behind particles that may become airborne again, posing respiratory risks. Soot particles can contain toxic substances, including carcinogens, that are harmful when inhaled.
- Secondary Damage: Failure to thoroughly remove soot can lead to secondary damage, such as persistent odors or discoloration that becomes more difficult to address over time.
Effective soot removal from ceilings requires a nuanced approach that balances thoroughness with the need to preserve the integrity of the ceiling surface. Professionals equipped with the right tools and knowledge can assess the best method for soot removal, whether it involves dry sponging, vacuuming with HEPA filters, or applying specific cleaning agents designed for soot. In cases where health risks or potential for damage is high, professional soot removal services offer the expertise necessary to ensure a safe and effective cleanup.
Preparing for Soot Removal from Ceilings
The task of removing soot from ceilings is not only a matter of restoring the aesthetic appeal of a space but also ensuring the health and safety of its occupants. Before embarking on this crucial cleanup process, it's essential to take proper safety precautions and assess the extent of the damage. This guide outlines the initial steps and safety measures necessary for effective soot removal from ceilings, providing a foundation for a safe and successful cleanup effort.
Safety Precautions and Initial Steps
Before beginning the soot removal process, prioritizing personal safety is paramount. Soot can contain harmful substances, making it necessary to protect yourself adequately:
- Wear Protective Gear: Equip yourself with gloves, goggles, and a N95 respirator or a more protective mask to prevent soot inhalation and contact with skin or eyes.
- Ensure Good Ventilation: Open windows and use fans to circulate air and reduce the concentration of airborne soot particles. Consider using an air purifier with a HEPA filter to capture fine particles.
- Secure the Area: Lay down drop cloths or plastic sheeting on the floor and over furniture to protect against soot and cleaning solution drips. This also facilitates easier cleanup after the soot removal process.
- Turn Off HVAC Systems: Prevent the spread of soot to other areas of the building by turning off heating, ventilation, and air conditioning systems during the cleanup.
Assessing the Soot-Affected Ceiling
A thorough assessment of the soot-affected ceiling is crucial to determine the best approach for removal. This assessment will guide your choice of cleaning methods and products:
- Extent of Soot Coverage: Evaluate how much of the ceiling is covered in soot. Localized soot may be addressed with targeted cleaning, while widespread coverage might require more extensive methods.
- Type of Ceiling Surface: Identify the material and texture of the ceiling. Smooth surfaces may be easier to clean, whereas textured or porous surfaces like popcorn ceilings present additional challenges.
- Depth of Soot Penetration: Light soot deposits on the surface may be easier to remove, while heavier deposits that have penetrated the surface may require specialized cleaning agents or techniques.
- Testing Cleaning Solutions: Before applying any cleaning solution over a large area, test it on a small, inconspicuous part of the ceiling to ensure it does not damage the paint or texture.
By taking the time to prepare and assess the situation carefully, you can ensure that the soot removal process is not only effective but also preserves the integrity of your ceiling. Whether you decide to undertake the task yourself or call in professional cleaners, understanding the nature of the challenge is the first step toward restoring your ceiling to its pre-damage condition.
Step-by-Step Guide to Soot Removal from Ceilings
The presence of soot on ceilings can be a daunting sight after a fire incident. Not only does it mar the appearance of your space, but it also poses health risks and can cause further damage if not properly addressed. This guide provides a comprehensive approach to soot removal from ceilings, detailing each step from initial particle removal to the final drying process. By following these steps, you can ensure a thorough cleanup that restores your ceiling to its original condition.
Removing Loose Soot Particles
The first step in the soot removal process is to eliminate loose soot particles without spreading them further:
- Vacuuming with HEPA Filters: Use a vacuum equipped with a HEPA filter to gently remove loose soot particles from the ceiling. The HEPA filter is crucial for trapping fine particles and preventing them from being redistributed into the air.
- Soft Brush Attachment: For textured ceilings, a soft brush attachment can help dislodge soot particles without damaging the surface. Gently brush the area and allow the vacuum to capture the freed particles.
- Precautionary Measures: Ensure the room is well-ventilated during this process, and wear protective gear, including masks and gloves, to avoid inhaling soot or getting it on your skin.
Cleaning and Deodorizing the Ceiling Surface
Once loose particles are removed, the next step involves deep cleaning and deodorizing the ceiling surface:
- Dry Chemical Sponge: Before applying any wet solutions, use a dry chemical sponge to remove soot. This specialized sponge absorbs soot without smearing it across the surface.
- Cleaning Solution: Mix a mild detergent with warm water or use a soot-removal cleaner recommended for ceiling surfaces. For natural solutions, a mixture of vinegar and water can also be effective.
- Gentle Application: Apply the cleaning solution gently with a sponge or cloth, taking care not to saturate the ceiling, which could lead to water damage or paint peeling.
- Deodorizing: To address smoke odors, consider using a solution with baking soda or a designated deodorizing agent. In severe cases, a professional deodorization treatment may be necessary.
Rinsing and Drying the Ceiling
The final step ensures that no residue from cleaning solutions remains and that the ceiling is properly dried:
- Rinsing: If a cleaning solution has been used, lightly rinse the area with a damp cloth or sponge to remove any soap residue. Be cautious not to over-wet the ceiling.
- Drying: Allow the ceiling to air dry completely. Use fans to circulate air and speed up the drying process, but avoid direct heat sources, which can cause damage.
- Inspection: After drying, inspect the ceiling for any remaining soot or odor. Repeat cleaning if necessary, or consider consulting a professional for persistent issues.
By meticulously following these steps, you can effectively remove soot from your ceiling, mitigating health risks and restoring the aesthetic appeal of your space. Remember, patience and gentle handling are key to preventing further damage during the soot removal process.
Tools and Equipment for Effective Soot Removal
The aftermath of a fire incident leaves behind soot, a pervasive residue that clings to every surface, with ceilings often presenting a particular challenge due to their height and accessibility. Effective soot removal requires not just the right techniques but also the appropriate tools and equipment. From basic essentials for reaching and cleaning ceilings to advanced technologies designed to tackle stubborn soot, this guide covers the necessary arsenal for efficient soot removal.
Essential Tools for Soot Removal
A comprehensive cleanup effort begins with assembling the right tools. Here’s a list of essential equipment for effective soot removal from ceilings:
- Ladders and Scaffolding: To safely reach ceiling surfaces, sturdy ladders or scaffolding are indispensable. Ensure they are securely positioned and adhere to safety guidelines to prevent accidents.
- Protective Gear: Personal protective equipment (PPE) is crucial to safeguard against soot and its potential health hazards. This includes N95 respirators or masks, goggles, gloves, and disposable coveralls to protect skin and clothing.
- HEPA Filter Vacuums: High-Efficiency Particulate Air (HEPA) filter vacuums are essential for removing loose soot particles without spreading them into the air. The fine filtration system captures even the smallest particles.
- Dry Chemical Sponges: These sponges are specially designed to remove soot from surfaces without water, preventing smears and further staining.
- Cleaning Solutions and Sprays: A variety of cleaning agents can be used, depending on the surface and soot type. Mild detergents, degreasers, or solutions formulated specifically for soot removal are effective in breaking down stubborn residues.
Advanced Cleaning Technologies
For challenging soot removal tasks, especially in cases of extensive damage or delicate surfaces, advanced cleaning technologies offer enhanced efficiency and effectiveness:
- Steam Cleaners: Steam cleaning utilizes high-temperature steam to loosen and dissolve soot from surfaces, making it particularly useful for textured ceilings or intricate details where soot particles are deeply embedded.
- Specialized Vacuums: Beyond standard HEPA vacuums, specialized vacuums equipped with attachments designed for soot removal can reach into crevices and textured surfaces, ensuring a more thorough cleanup.
- Ultrasonic Cleaners: For removable items affected by ceiling soot, ultrasonic cleaners use high-frequency sound waves to clean items at a microscopic level, effectively removing soot without physical scrubbing.
- Air Scrubbers: These devices clean the air of soot particles and other contaminants, using filters to capture airborne particles and improve indoor air quality during and after the cleanup process.
Equipping yourself with the right tools and equipment is the first step toward effective soot removal from ceilings. While essential tools provide the basics for reaching and cleaning affected areas, advanced technologies can significantly enhance the process, especially in tackling stubborn soot or ensuring the safety and cleanliness of the environment. Whether opting for DIY methods or seeking professional help, understanding the tools of the trade is crucial for successful soot removal.
Do's and Don'ts of Soot Removal from Ceilings
The task of removing soot from ceilings is fraught with challenges, not least of which is the risk of causing further damage to the ceiling surfaces or compromising one's health. Adhering to a set of best practices can ensure that soot removal is both safe and effective, while being aware of common mistakes can help avoid unnecessary harm. This guide outlines the essential do's and don'ts of soot removal from ceilings, providing tips and techniques for successful cleanup and highlighting actions that could exacerbate soot stains or damage ceiling materials.
Best Practices for Safe and Effective Cleaning
Do:
- Wear Protective Gear: Always use gloves, goggles, and a quality respirator mask to protect against soot particles and any cleaning chemicals used during the process.
- Use the Right Tools: Employ a HEPA filter vacuum to remove loose soot particles without spreading them further. Soft brushes or dry chemical sponges can also be effective for gentle soot removal.
- Test Cleaning Solutions: Before applying any cleaning solution over a large area, test it on a small, inconspicuous part of the ceiling to ensure it does not damage the paint or texture.
- Work from Top to Bottom: Start cleaning from the ceiling and work your way down. This approach prevents soot from contaminating already cleaned areas.
- Keep the Area Well-Ventilated: Ensure good airflow in the room to disperse any airborne particles and fumes from cleaning agents.
Don't:
- Don’t Use Excessive Water: Applying too much water or liquid cleaner can soak into the ceiling material, potentially causing water damage or paint to peel.
- Don’t Scrub Aggressively: Harsh scrubbing can drive soot deeper into the surface or remove ceiling texture. Always use gentle motions when cleaning.
- Don’t Ignore Safety Precautions: Skipping protective gear or neglecting to ventilate the area can lead to health risks from inhaling soot or chemical vapors.
- Don’t Rush the Process: Rushing can lead to oversight and incomplete removal of soot, leaving behind odors or stains that are harder to address later.
- Don’t Forget to Dispose of Cleaning Materials Properly: Used sponges, cloths, and protective gear can carry soot and chemicals. Dispose of them safely to prevent contamination.
Common Mistakes to Avoid
- Applying Heat: Using heat-based methods to dry the ceiling too quickly can cause the soot to become more firmly attached or even cause the ceiling material to warp.
- Skipping the Assessment Step: Failing to assess the extent and type of soot can lead to using incorrect cleaning methods or solutions, resulting in ineffective cleaning or damage.
- Using Harsh Chemicals Unnecessarily: Strong chemicals can sometimes do more harm than good, especially on painted or textured ceilings. Opt for milder cleaners unless absolutely necessary.
By following these do's and don'ts, individuals tackling soot removal from ceilings can achieve a balance between thoroughness and care, ensuring that the ceiling is restored to its original condition without incurring additional damage. Remember, when in doubt, consulting with professional cleaners who specialize in post-fire restoration can provide peace of mind and guarantee a safe, effective cleanup.
FAQs
Contact Fast Response Cleaning & Restoration Today!
Fast Response Cleaning & Restoration will do everything we can to ensure your experience with us is excellent.
Request A FREE Estimate
Request A FREE Estimate Form
CHECKOUT RECENT POST
Have an Emergency? We're Here to Help!
When it comes to disaster cleanup, we are a seasoned veteran in the industry and have helped hundreds of property owners just like you.
Our disaster recovery teams are available 24-7 to quickly clean up and repair disasters of all types.

We're looking forward to providing you with our outstanding services!
COMPANY INFO
ADDRESS: 307 Cold Creek Pass, Bluffton, SC, 29910, United States
EMAIL: office@fastresponsecr.com
PHONE: 843-305-3383
OFFICE: 843-304-6615
HOURS
SUNDAY: Open 24 Hours
MONDAY: Open 24 Hours
TUESDAY: Open 24 Hours
WEDNESDAY: Open 24 Hours
THURSDAY: Open 24 Hours
FRIDAY: Open 24 Hours
SATURDAY: Open 24 Hours
Copyright © 2021 Fast Response Cleaning & Restoration
Fast Response Cleaning and Restoration FL | Sitemap | Privacy Policy